How To Add Blur Effect on Capcut Editor
Welcome to this article on How To Add Blur Effect on CapCut Editor! Are you looking for a way to make your videos look more professional and engaging? If so, then this is the perfect article for you. We’ll show you how to use the awesome video editing app, CapCut, to blur your video background and give your content some added polish. We’ll go over the option of blurring your video background, and provide helpful tips along the way. So let’s get started!
Tips Before Blurring Video Backgrounds in CapCut
Before you begin blurring Video Backgrounds in CapCut, there are some important tips to consider. To make sure your video background looks as professional as possible, it is best to use a tripod or stabilizer to keep the camera steady when you’re recording. This will ensure that the parts of the video with the background stay consistent and look more attractive than a shaky one would. Secondly, determine what kind of shape will work best for your subject and background. Whether it is a circle or rectangle, make sure that your subject stays in the center and the background can expand around it. In CapCut’s Shape Settings, you can choose from Blur Effect which includes Circle or Rectangle shapes with different levels of blur effect applied onto them.
How to Blur Video Background in CapCut
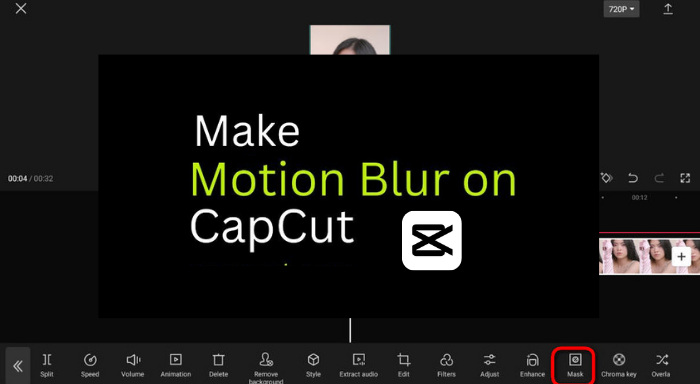
Here’s a step-by-step list of instructions for blurring video backgrounds in CapCut:
Follow these steps, and you’ll be able to blur video backgrounds in CapCut with ease.
Conclusions
Blurring Video Backgrounds in CapCut is a great way to make your videos look more professional and eye-catching. With just some basic equipment and the right software, you can add this cool effect to your videos. Using CapCut as your editing app makes this process even easier since it has pre-made blur effects that you can tweak until they are perfect for your video. Following the steps we outlined above, you will be able to achieve the desired result with minimal effort and time. We hope this tutorial was helpful for when you want to blur Video Backgrounds in CapCut!